

Tips for Installing Vinyl Flooring on a Wall
Vinyl plank flooring on a wall adds dramatic texture to a room and installing is a relatively straightforward DIY project. Why not give it a try?
Elevate Your Decor With Vinyl Flooring for Your Wall
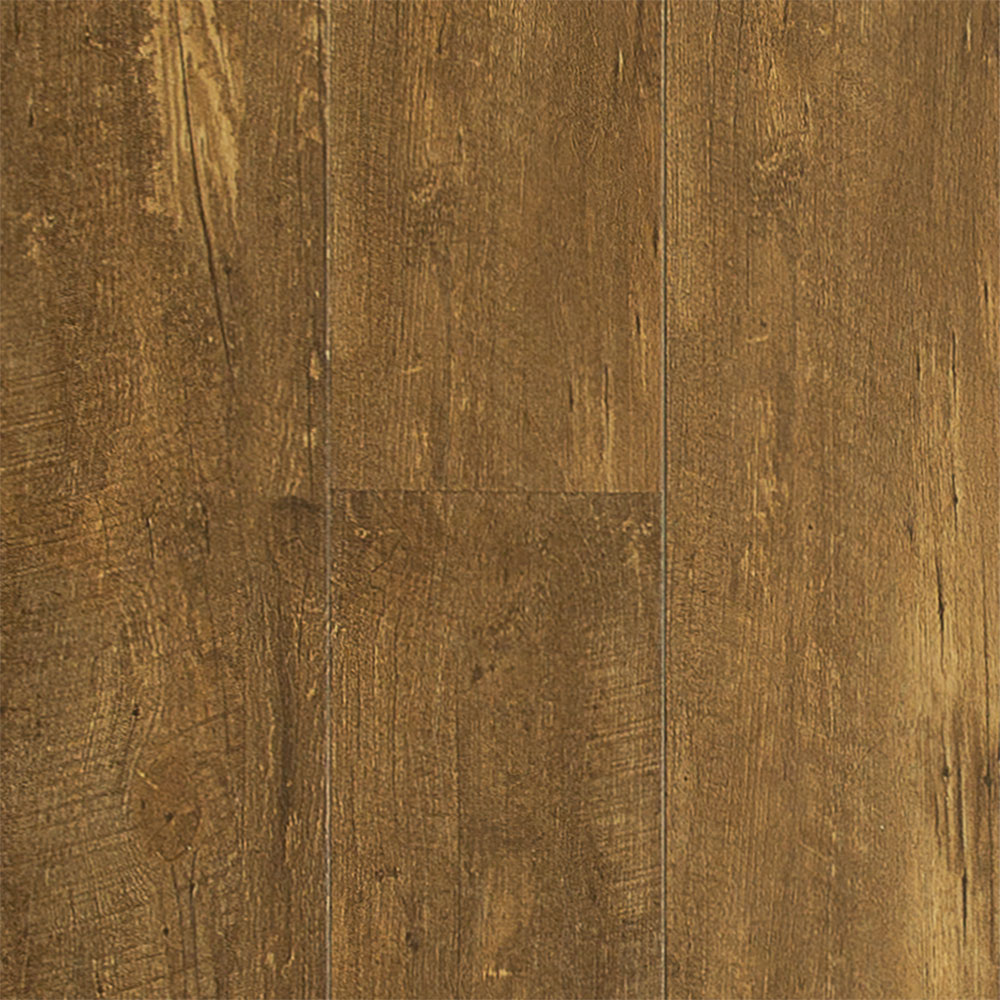
When it comes to floors, the benefits of vinyl plank are obvious—it’s waterproof, resistant to scratches and dents, easy to install, and kind to your budget. But what about vinyl flooring on your wall? Installing vinyl plank on your wall is not only possible, but it can enrich your space with beautiful wood looks while offering more protection against splashes. On top of that, installing vinyl plank flooring on a wall is a relatively straightforward DIY project. Why not give it a try?
Beautiful Bathrooms
Vinyl plank flooring on a wall can make a dramatic change to your bathroom. If you have a large space, a wood-look design with rich brown tones will add warmth and coziness. Grays, on the other hand—particularly lighter shades in weathered textures—can create a casual coastal atmosphere. Use stone looks to bring formal elegance to your bathroom or to lend a crisp, contemporary vibe.
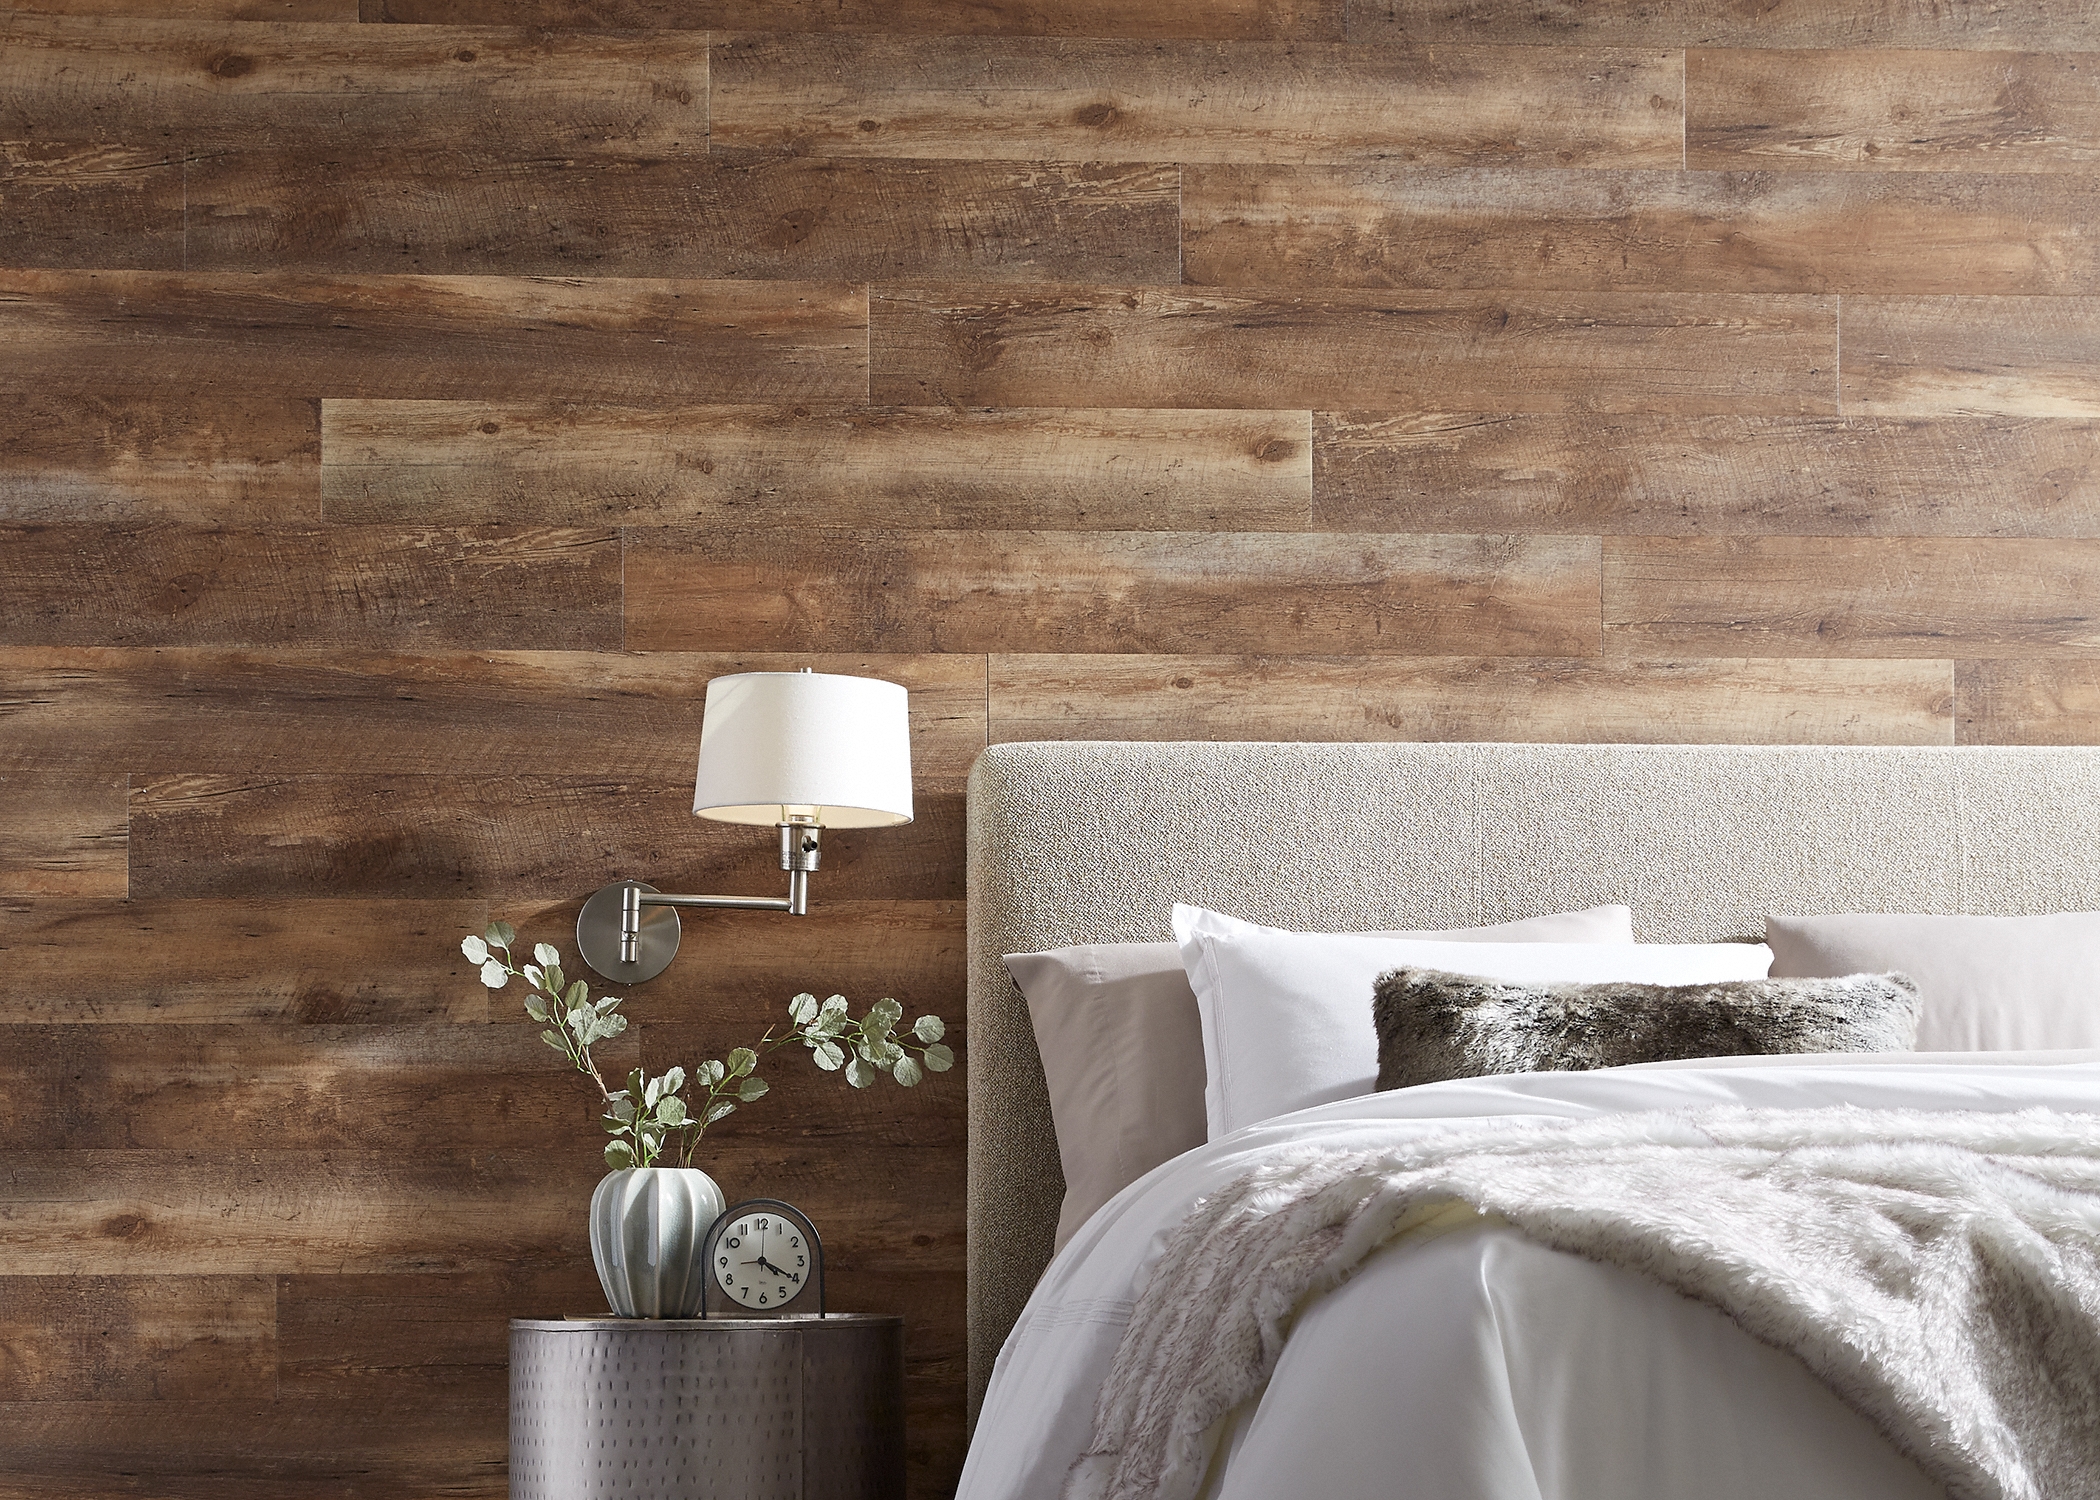
Eye-Catching Accent Walls
You can use vinyl plank on a wall to create a stunning design feature in any room. Make a large room feel less cavernous by creating one dark accent wall. Add a touch of personality and drama to an otherwise simple room by using a distinctive grain pattern on one of its walls. You could also install vinyl plank flooring on the wall behind your bed in place of a headboard.
And don’t think you have to cover your entire wall. In place of wainscoting, install your vinyl plank flooring vertically on the bottom third of your wall. This works well for an elegant dining room, but also for anywhere you may want to protect your lower walls.
Accent Wall Installation Tips
Choose vinyl planks without an attached pad, and follow the wall installation instructions included with your product. You should also acclimate your vinyl plank flooring before installation to reduce the likelihood of buckling or warping over time.
Below are a few tips that will help make your project run smoothly.
Preparing Your Wall
First, remove any baseboards and other molding, power outlet covers, vents, and thermostats (be sure to shut off your electricity before working around electrical outlets). Also, make sure that your wall is clean, flat, and dry. Sand down your wall to ensure a smooth surface and make any necessary repairs to ensure a smooth and even surface. You can apply a coat of primer to help the adhesive stick.
Installing Your Vinyl Plank on Your Wall
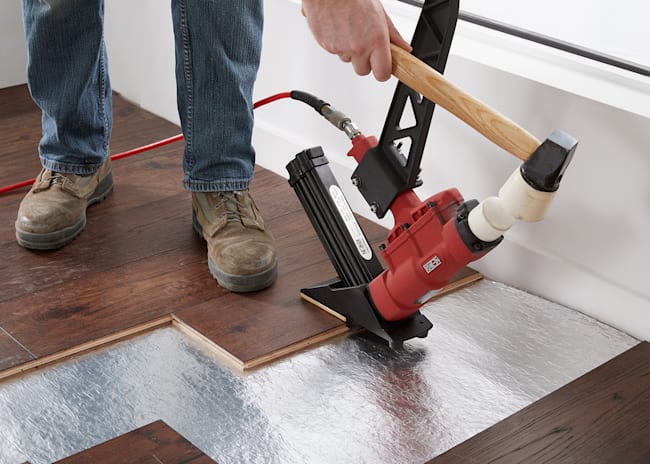
Check your installation guide for the required tools and materials necessary for your wall project. They’ll include items such as a tape measure, pencil, stud finder, chalk line, 6-foot level, utility knife, adhesive, a rubber mallet, drill, and screws. Browse our selection of installation materials to find many of the supplies you'll need.
You’ll have to find and mark your wall’s studs and also establish working lines parallel to the floor. Use a level to ensure accuracy. Normally you would work from the bottom up, moving across either right to left or left to right, using your planks’ locking mechanism to lock them together. For attaching to the wall, screw your first row to the wall, and then use adhesive only thereafter. For a more authentic appearance, mix planks from different cartons and stagger your seams by cutting planks to varying lengths. Make templates in order to cut around fixtures. Finish up by re-installing your baseboards, outlet covers, and other trims.
Vertical installation or wainscoting, should be both glued and fastened with nails. Usually, you would be using single planks of equal length.
Safety Considerations and Care
Since vinyl plank is technically a cover for your walls and not a structural material, do not fasten cabinets, sconces, shelves, televisions, or other fixtures to the vinyl alone. Instead, drill pilot holes and install these items directly into the wall studs using screws. Also, do not install vinyl plank flooring directly over concrete or block walls. Only non-padded vinyl plank is able to be installed onto the walls.
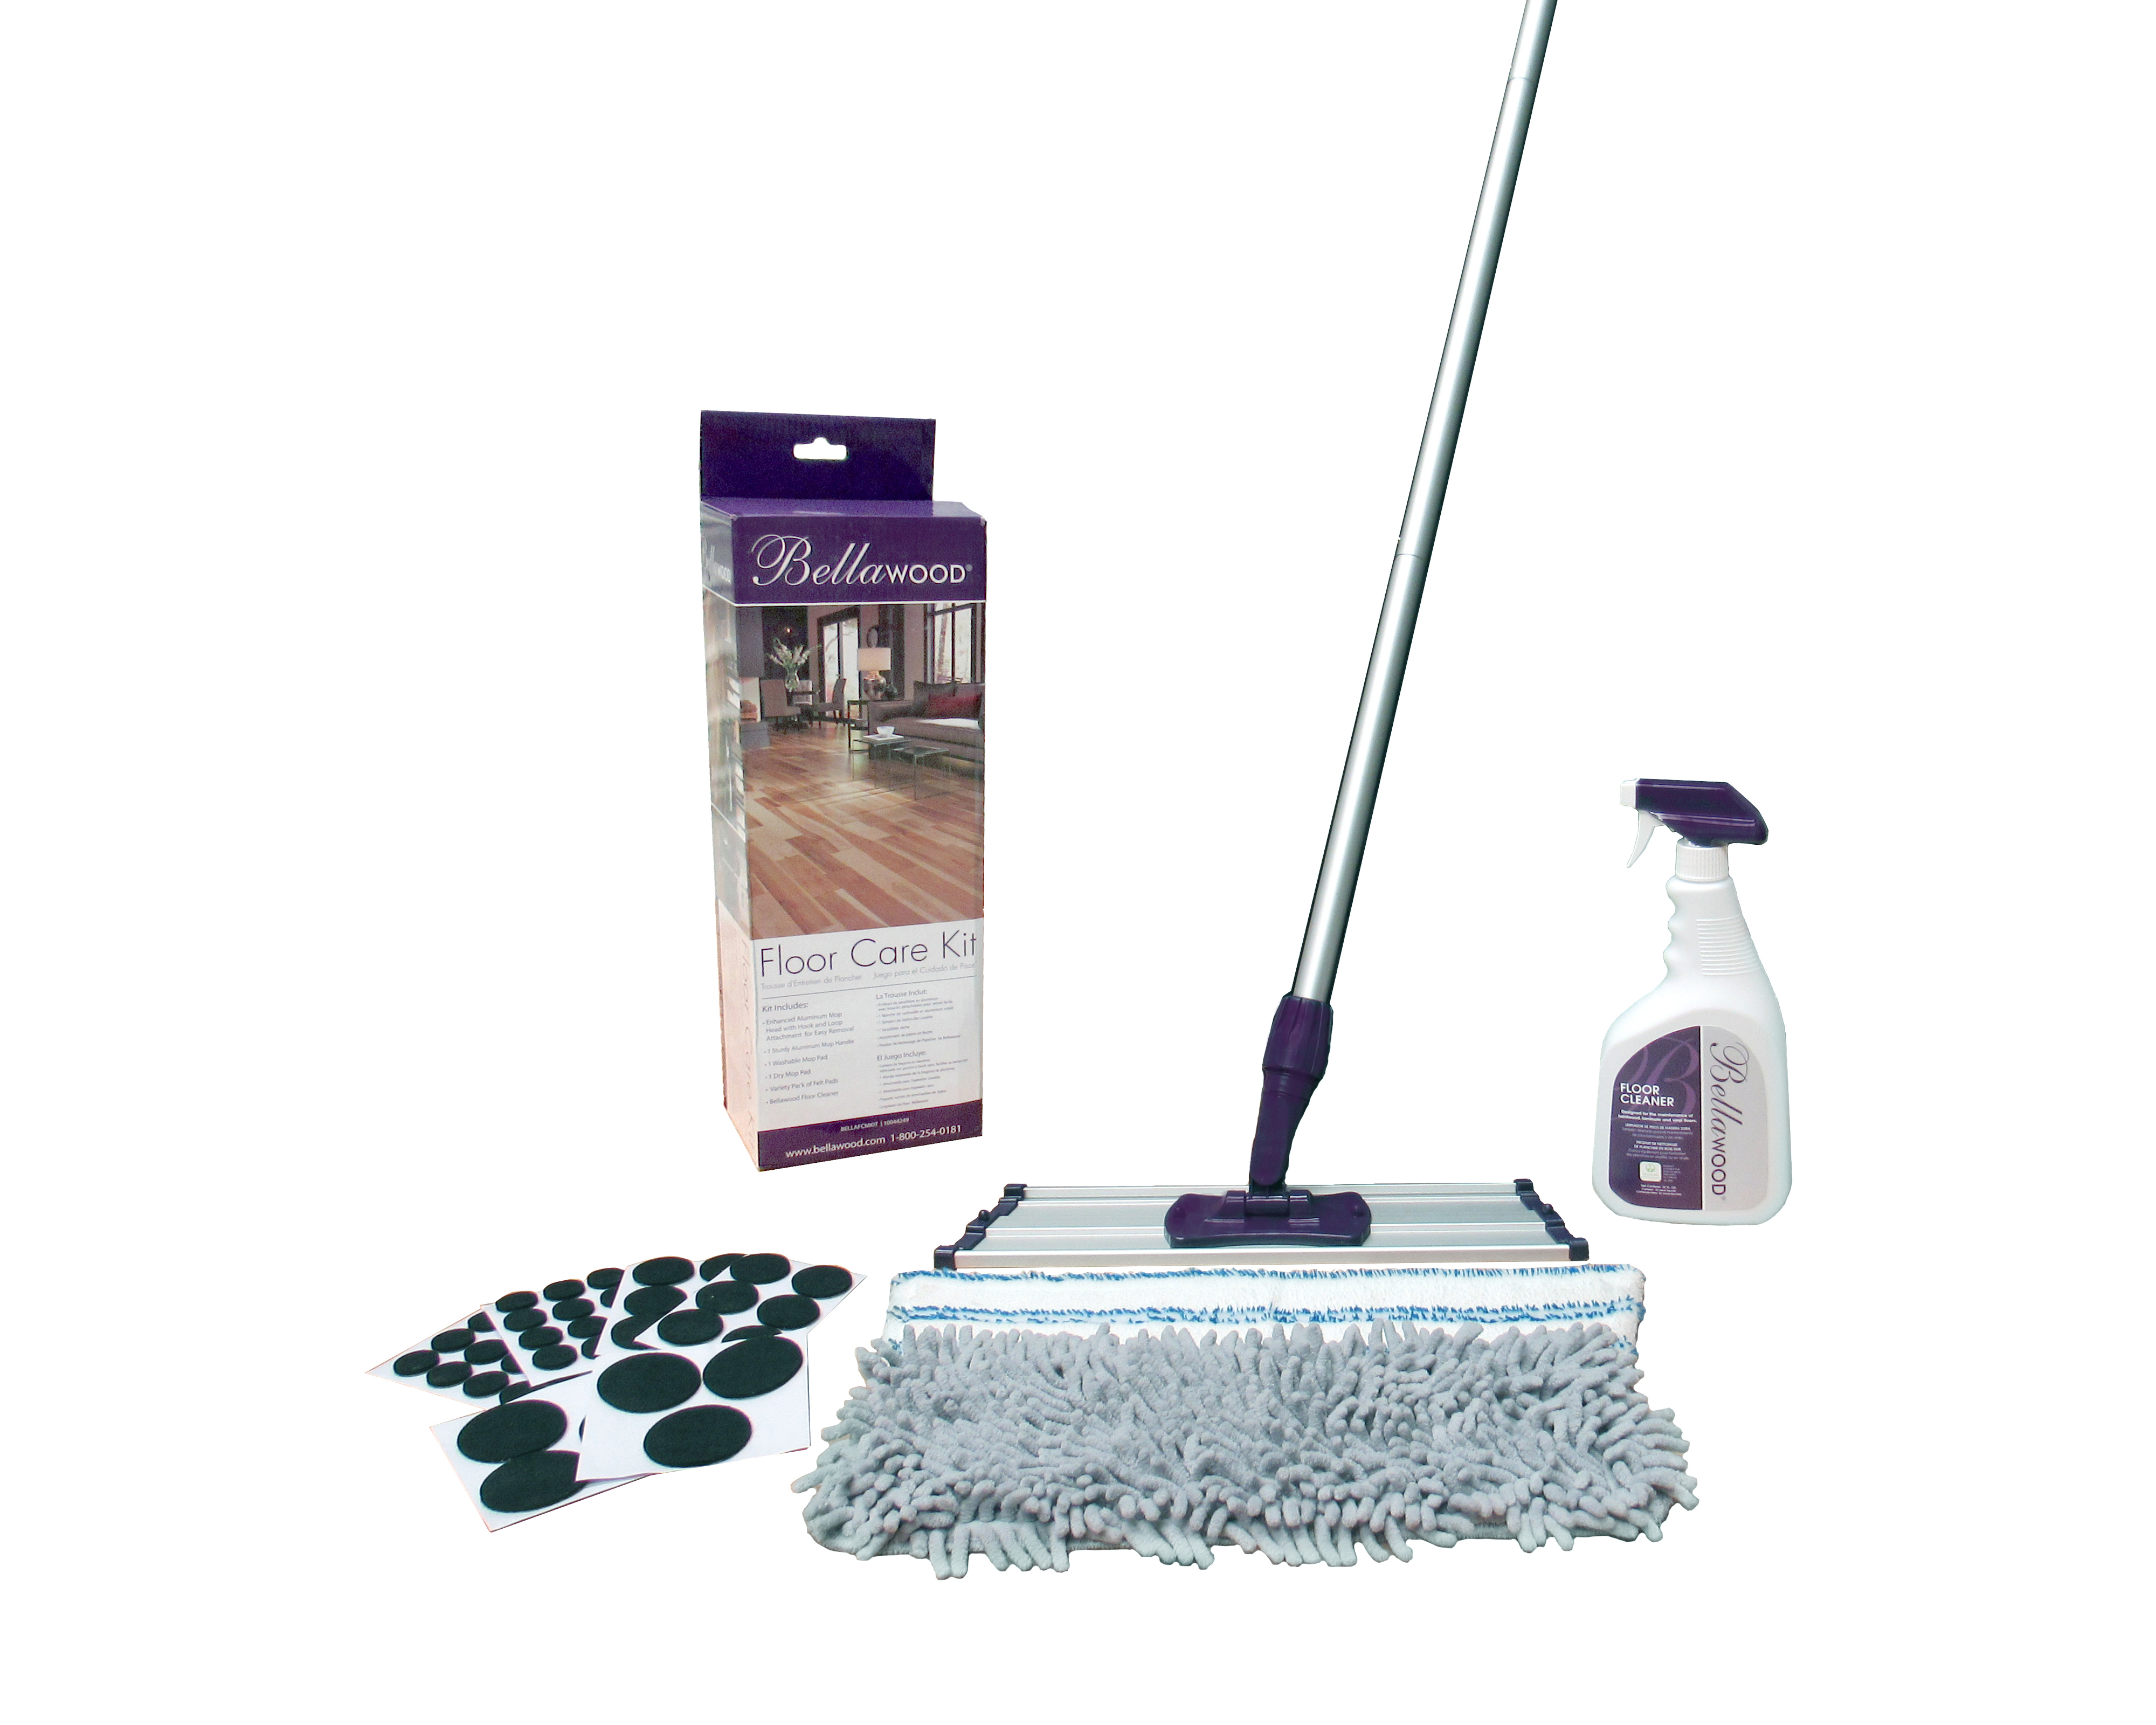
Caring for your vinyl plank wall is simply a matter of wiping it down as needed. You can use a product such as Bellawood Floor Cleaner to clean your walls without streaking or leaving a dull residue.
There’s no need to stop at your floors when it comes to vinyl plank. Explore the many ways you can use flooring on your walls and shop a variety of materials.
Related Articles


