- Home
- Education
- Installation Tips and Guides
- How to Repair Hardwood Floors: A Problems and Causes Guide
How to Repair Hardwood Floors: A Problems and Causes Guide
Learning how to repair hardwood floors means understanding what causes damage. From water to installation issues, LL Flooring will help you care for your floor.
Solid and engineered hardwood flooring is a worthwhile investment, but its natural resilience and tough construction don’t make it invincible. If you’re wondering how to repair damaged hardwood flooring, the best place to start is by finding the cause.
Installation issues are one of the leading causes of hardwood flooring problems. From not acclimating boards to improper subfloor preparation, DIYers and professionals alike can make mistakes. Other causes of floor damage include accidents like dropping heavy objects, misuses like walking on hardwood floors with cleats, or unfortunate incidents like leaks. Regardless of the reason, many of us still want to know how to repair hardwood floors.
How to Repair Damaged Hardwood Floor
There are a lot of myths about hardwood flooring. Some people say that all hardwood has the same hardness rating; others believe you can’t install wood floors over radiant heating. You also might have heard that hardwood floors should not scratch or dent. These myths are untrue. Learning about the construction of your hardwood is important for identifying issues and understanding what goes into fixing them.
Solid Hardwood
Solid hardwood floors are made from one continuous piece of wood, such as white oak, hickory, or acacia. They are cut to size and to fit specific requirements for different grades and types of flooring. The wood is then finished with a stain or protective coating, or it is sold as unfinished hardwood that’s finished on-site.
These wood boards are thicker than other flooring types, and this strengthens them. This thickness also makes them a bit more difficult to install. Solid hardwood often uses staple, nail, or glue-down installation methods.
Engineered Hardwood
Engineered hardwood flooring differs from solid in that it’s made of two parts. The top layer, called the veneer, is authentic hardwood, and the bottom can be plywood, lumber, MDF, or stone-polymer composite core. Engineered flooring’s construction gives it dimensional stability, which means it’s less likely to contract and expand with temperature and humidity changes. Common methods for installing engineered hardwood are tongue and groove and click-lock.
What Difference Does This Make?
Because of their different constructions, solid and engineered flooring have different requirements, especially for installation. How you care for and maintain your flooring can also differ.
How to Repair a Scratch in a Hardwood Floor
Scratches are by far the most common issue with hardwood floors. Not because hardwood scratches easily but because of how we use and care for our floors. This leaves many of us wondering how to fix gouges, dents, and deep scratches on hardwood floors. The first step is to stop them from happening. Check the Warranty, Installation, Care (WIC) guidelines that came with your flooring for specific information about your hardwood floor.
Some common causes of hardwood scratches include:
- Moving heavy objects without protection.
- Not adding felt pads to the bottom of your furniture.
- Not regularly sweeping or dusting, causing abrasive dirt to accumulate.
- Dropping, dragging, or stepping on sharp or heavy objects.
- Wearing cleats or stiletto heels.
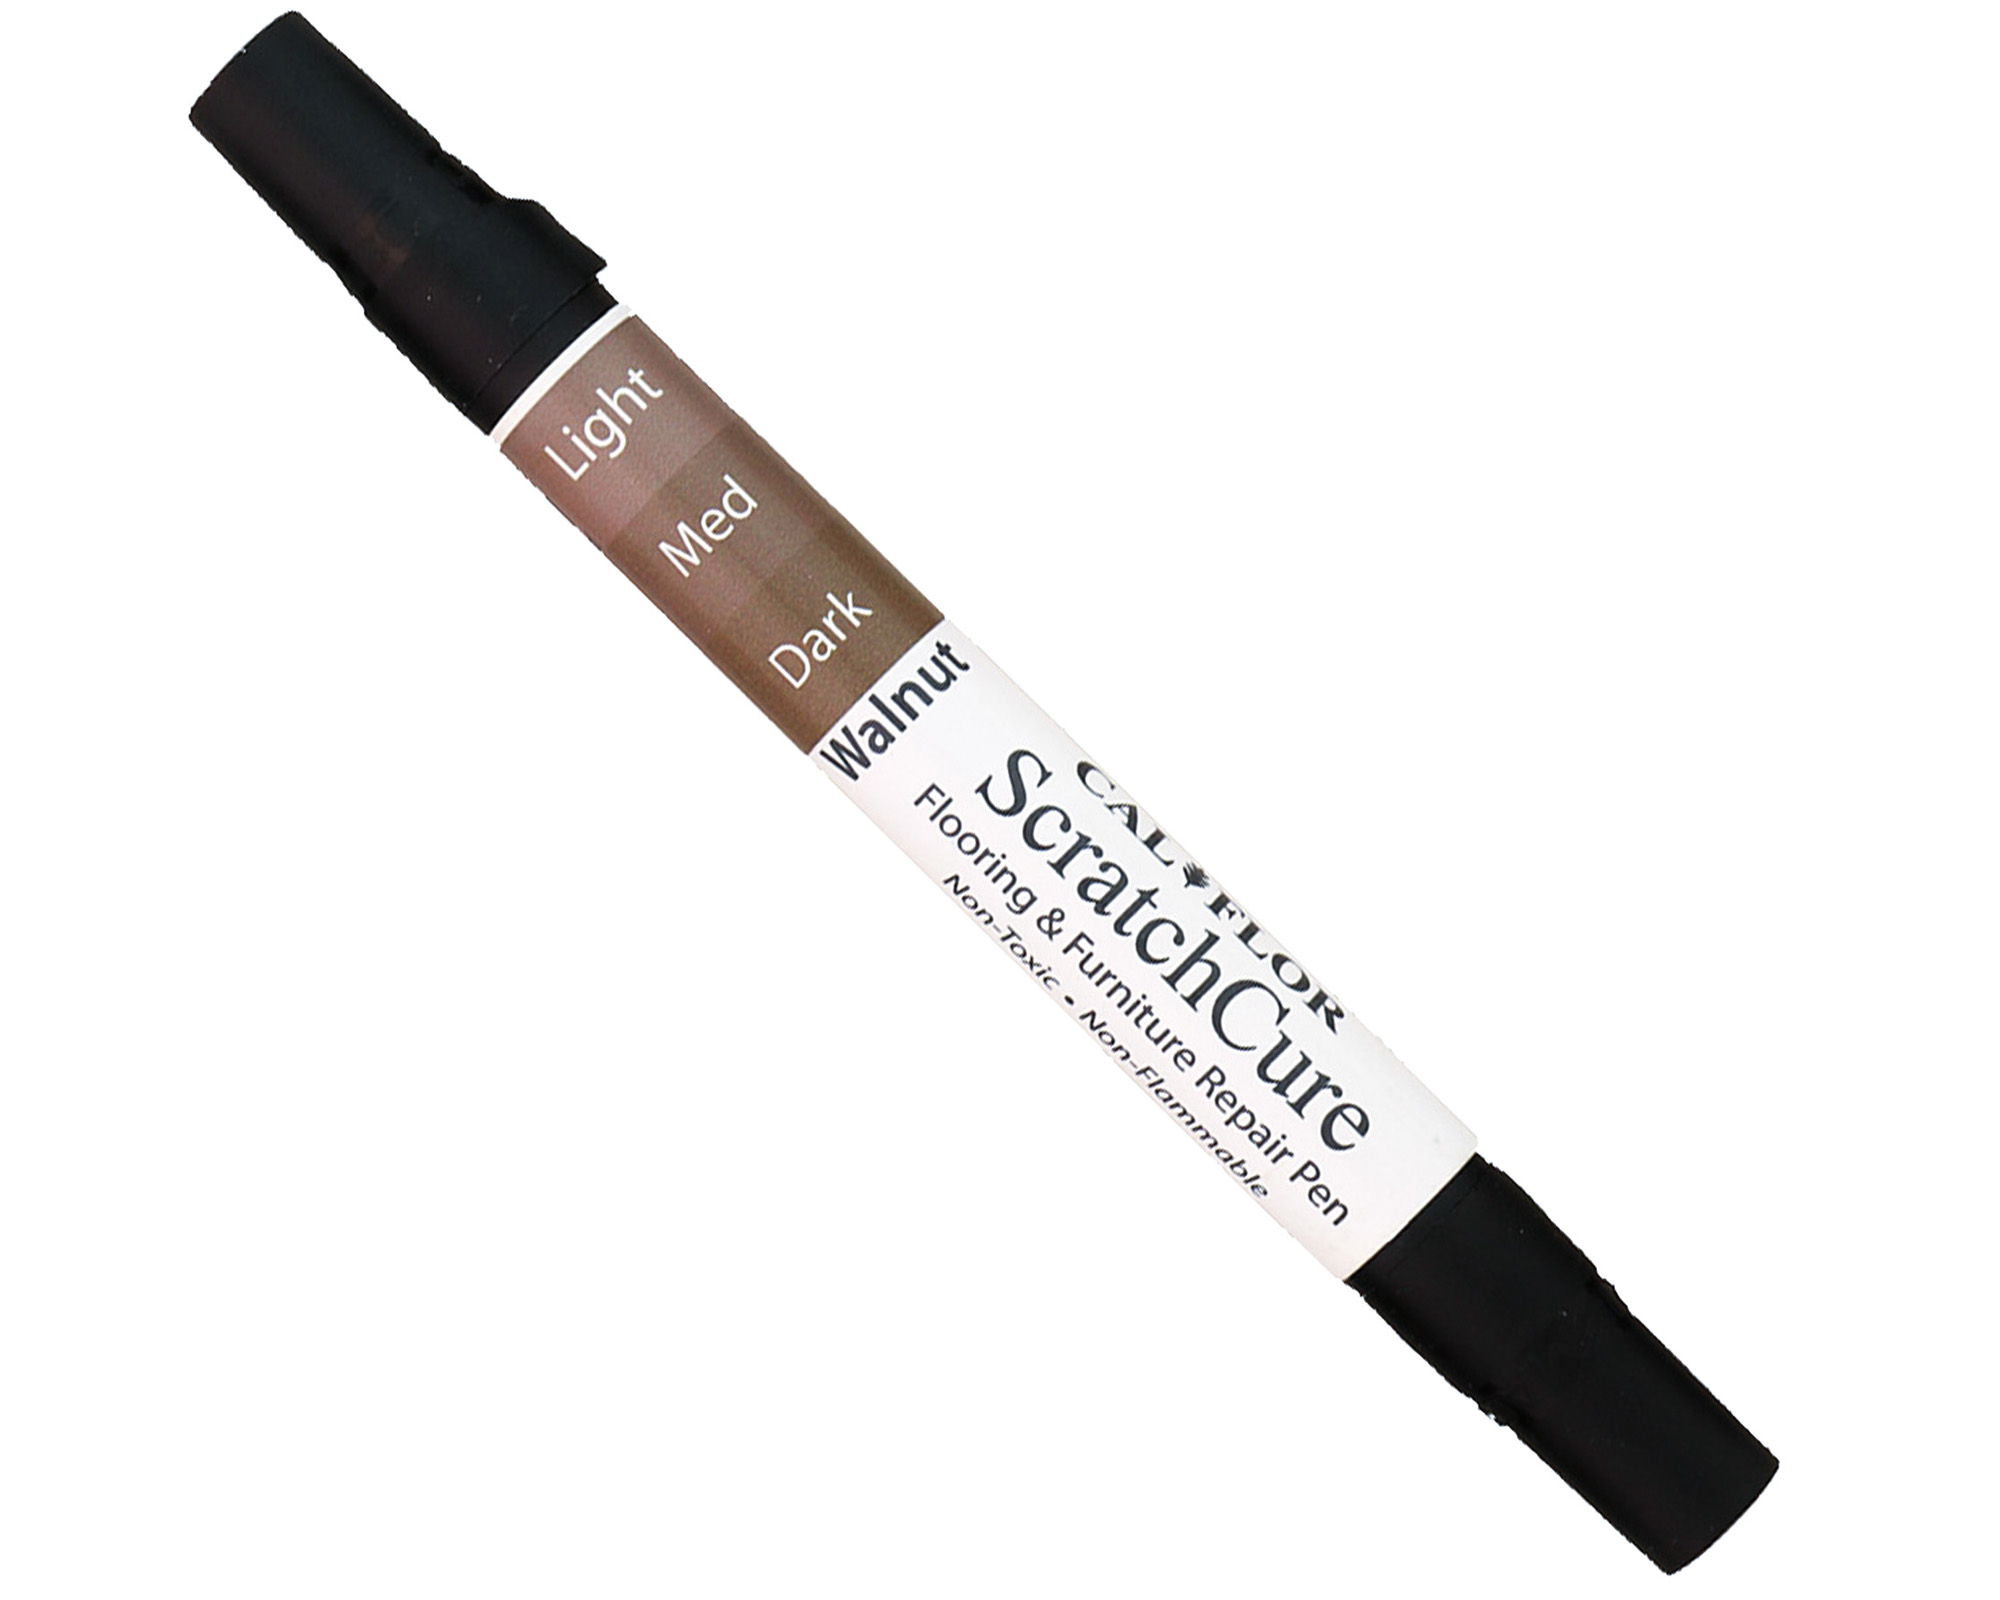
For minor scratches in hardwood flooring, you can use products like the CalFlor ScratchCure Repair Pen from our Care and Protection section. This useful tool comes in cherry, gray, mahogany, maple, and walnut shades that you can use to match your floor. Simply use the fine or broad tip to gently restore color to your scratch.
If you’re wondering how to fix deep gouges in hardwood floors, the process is more complicated. True restoration of surface damage means sanding and refinishing the damaged area. While it might seem straightforward, it’s easy to get it wrong, especially with engineered hardwood, where the veneer is less forgiving. Our Flooring Repairs: Scratches and Gouges guide has more details about the process.
How to Repair a Portion of Damaged Hardwood Flooring
You can spot-repair hardwood floors if the damage is small and isn’t caused by a significant underlying issue. Cosmetic issues like gouges and dents can be sanded, filled, and refinished, or you can replace individual boards...
Replacing a board requires that you have a matching floorboard. When buying flooring, a smart rule of thumb is to buy 10% more flooring than you need. This helps if the installation causes any damage and later if you need to replace a board. Otherwise, you’ll be left searching for a few boards that match your existing flooring, which can be difficult. Matching the type of installation, too, is vital for a proper match.
When you’re ready to replace your board, follow these steps:
- Prep the surrounding area with cardboard or plastic to protect the rest of your flooring.
- Mark and measure the area you’ll remove.
- Saw through your marked area to remove the board.
- Test fit your new board to make sure it fits properly.
- Refit the board using the applicable installation method.
- Give the new board time to set when it is glued in before walking on it.
Replacing a section of flooring needs experience, precision, and patience to ensure a seamless fit. This task is not recommended as a first time DIY project.
Demonstration of Single-Plank Replacement
In this short video, experts Mark and Louie demonstrate a full plank replacement process condensed under a minute!
Can You Fix Water-Damaged Hardwood?
In some situations, yes, you can repair water-damaged flooring. In other situations, it’s not possible. Water is responsible for some of the worst hardwood damage, but the extent of that damage depends on the type of water, how much water there was, and how long your hardwood floor was exposed to it.
Types of Water
Three types of water can damage flooring: clean, gray, and black.
- Clean water comes from your faucets and showers.
- Gray water comes from appliances like washers and dishwashers.
- Black water is contaminated water, like what comes from sewer leaks.
All three types of water can harm your flooring, but clean water is the easiest to deal with. All you need is to remove the water, clean your floor and dry it. A floor exposed to gray water needs a more thorough deep cleaning, and black water is a hazard that requires professional-grade cleaning for your floor.
Length of Exposure
A simple spill that’s quickly cleaned up won’t damage your flooring. But the water allowed to sit on or under your floor can cause considerable damage.
Flooring exposed to water for days or more will absorb that moisture. This can happen when a subfloor has not been checked for moisture or improper underlayment is used. These issues can damage the boards and cause unchecked mold growth between or beneath the flooring.
Types of Water Damage
There are several ways that water can damage your hardwood flooring. Apart from surface discoloration, water can cause:
- Cupping: The edges of the floorboard are raised higher than the center.
- Crowning: The center of the floorboard is raised higher than the edges.
- Buckling: The floorboard lifts above the surrounding boards.
- Warping: The board twists in unnatural ways.
- Cracking: Cracks appear across part of or along the length of the board.
- Smells: A room or part of your floor smells damp or musty.
The above water damage is a sign that your floor has been exposed to a large quantity of water or exposed to water for an extended period. In worst-case scenarios, it’s both. The best choice is most often to replace water-damaged boards with new ones.
The Importance of Proper Installation
For hardwood flooring damage, improper installation is one of the biggest causes. There are several areas where installation can go wrong, but poor acclimation and subfloor preparation are two fundamental issues. A thorough understanding of the importance of each part of the process will help you avoid issues and address them if they arise. Your WIC is your resource for proper installation information.
Acclimation
Not acclimating floorboards is the number one issue for hardwood installation. Acclimation is the process of matching your new hardwood with the temperature and humidity levels of the area you will install it in. This is a crucial step, as hardwood can contract and expand in response to these changes.
Failing to acclimate your boards properly means that you risk your boards not fitting once they acclimate. This leads to issues like gaps, buckling, or other structural damage.
Subfloor Preparation
Without a properly prepared subfloor, your hardwood floor will have issues early on. Your subfloor should be flat, level, and dry. Without these elements, your hardwood can fail to adhere to the subfloor, especially with glued-down flooring.
Any bumps or dips in your subfloor can lead to boards that creak or squeak when you walk on them. Using a self-leveling underlayment will help ensure a proper foundation for your floor.
Another critical issue with subfloors is moisture. Damp subfloors cause a lot of problems like moisture seeping into the floorboards and causing structural damage. Measure the moisture levels in your subfloor before installing your boards to make sure it meets the WIC's guidelines for your hardwood.
LL Flooring has several recommendations for the best subfloors for hardwood installation.
Hardwood Floors Should Be Enjoyed
Hardwood flooring is a popular flooring choice because of its natural beauty, strength, and longevity. To get the most out of this flooring, it needs care and maintenance as well as proper installation. At LL Flooring, we’re proud to offer a variety of select wood flooring and facilitate professional installation of your flooring investment.
Follow LL Style on Instagram & Pinterest
ALSO, do you learn about home improvement and design with fun and informative videos? Subscribe to the LL Flooring YouTube Channel to learn more, leave comments or ideas that helped you, and join the community.
Detailed Steps of Plank Replacement
Each detailed step of the above plank replacement can now be found in more detail on our YouTube Channel. Please subscribe, visit the channel page, and find parts 1-4. Leave comments with any questions!


