- Home
- Education
- Installation Tips and Guides
- Installation Tips: Installing Vinyl Plank Flooring in Your Bathroom
Installation Tips: Installing Vinyl Plank Flooring in Your Bathroom
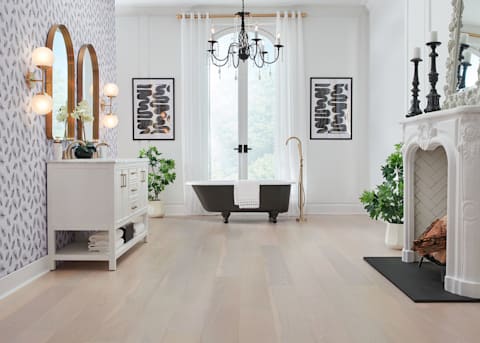
You can get the best of both worlds by installing vinyl plank flooring in your bathroom(s). Vinyl offers a wide variety of authentic colors and textures—inspired by real wood and stone looks—combined with a multi-layered construction that provides resilience and waterproof protection.
When it comes to the bathroom, you need a floor that can withstand splashes from the bathtub or sprays from the faucet. You might feel resigned to choosing performance over appearance, but we're here to tell you the good news—you don't need to choose between the two.
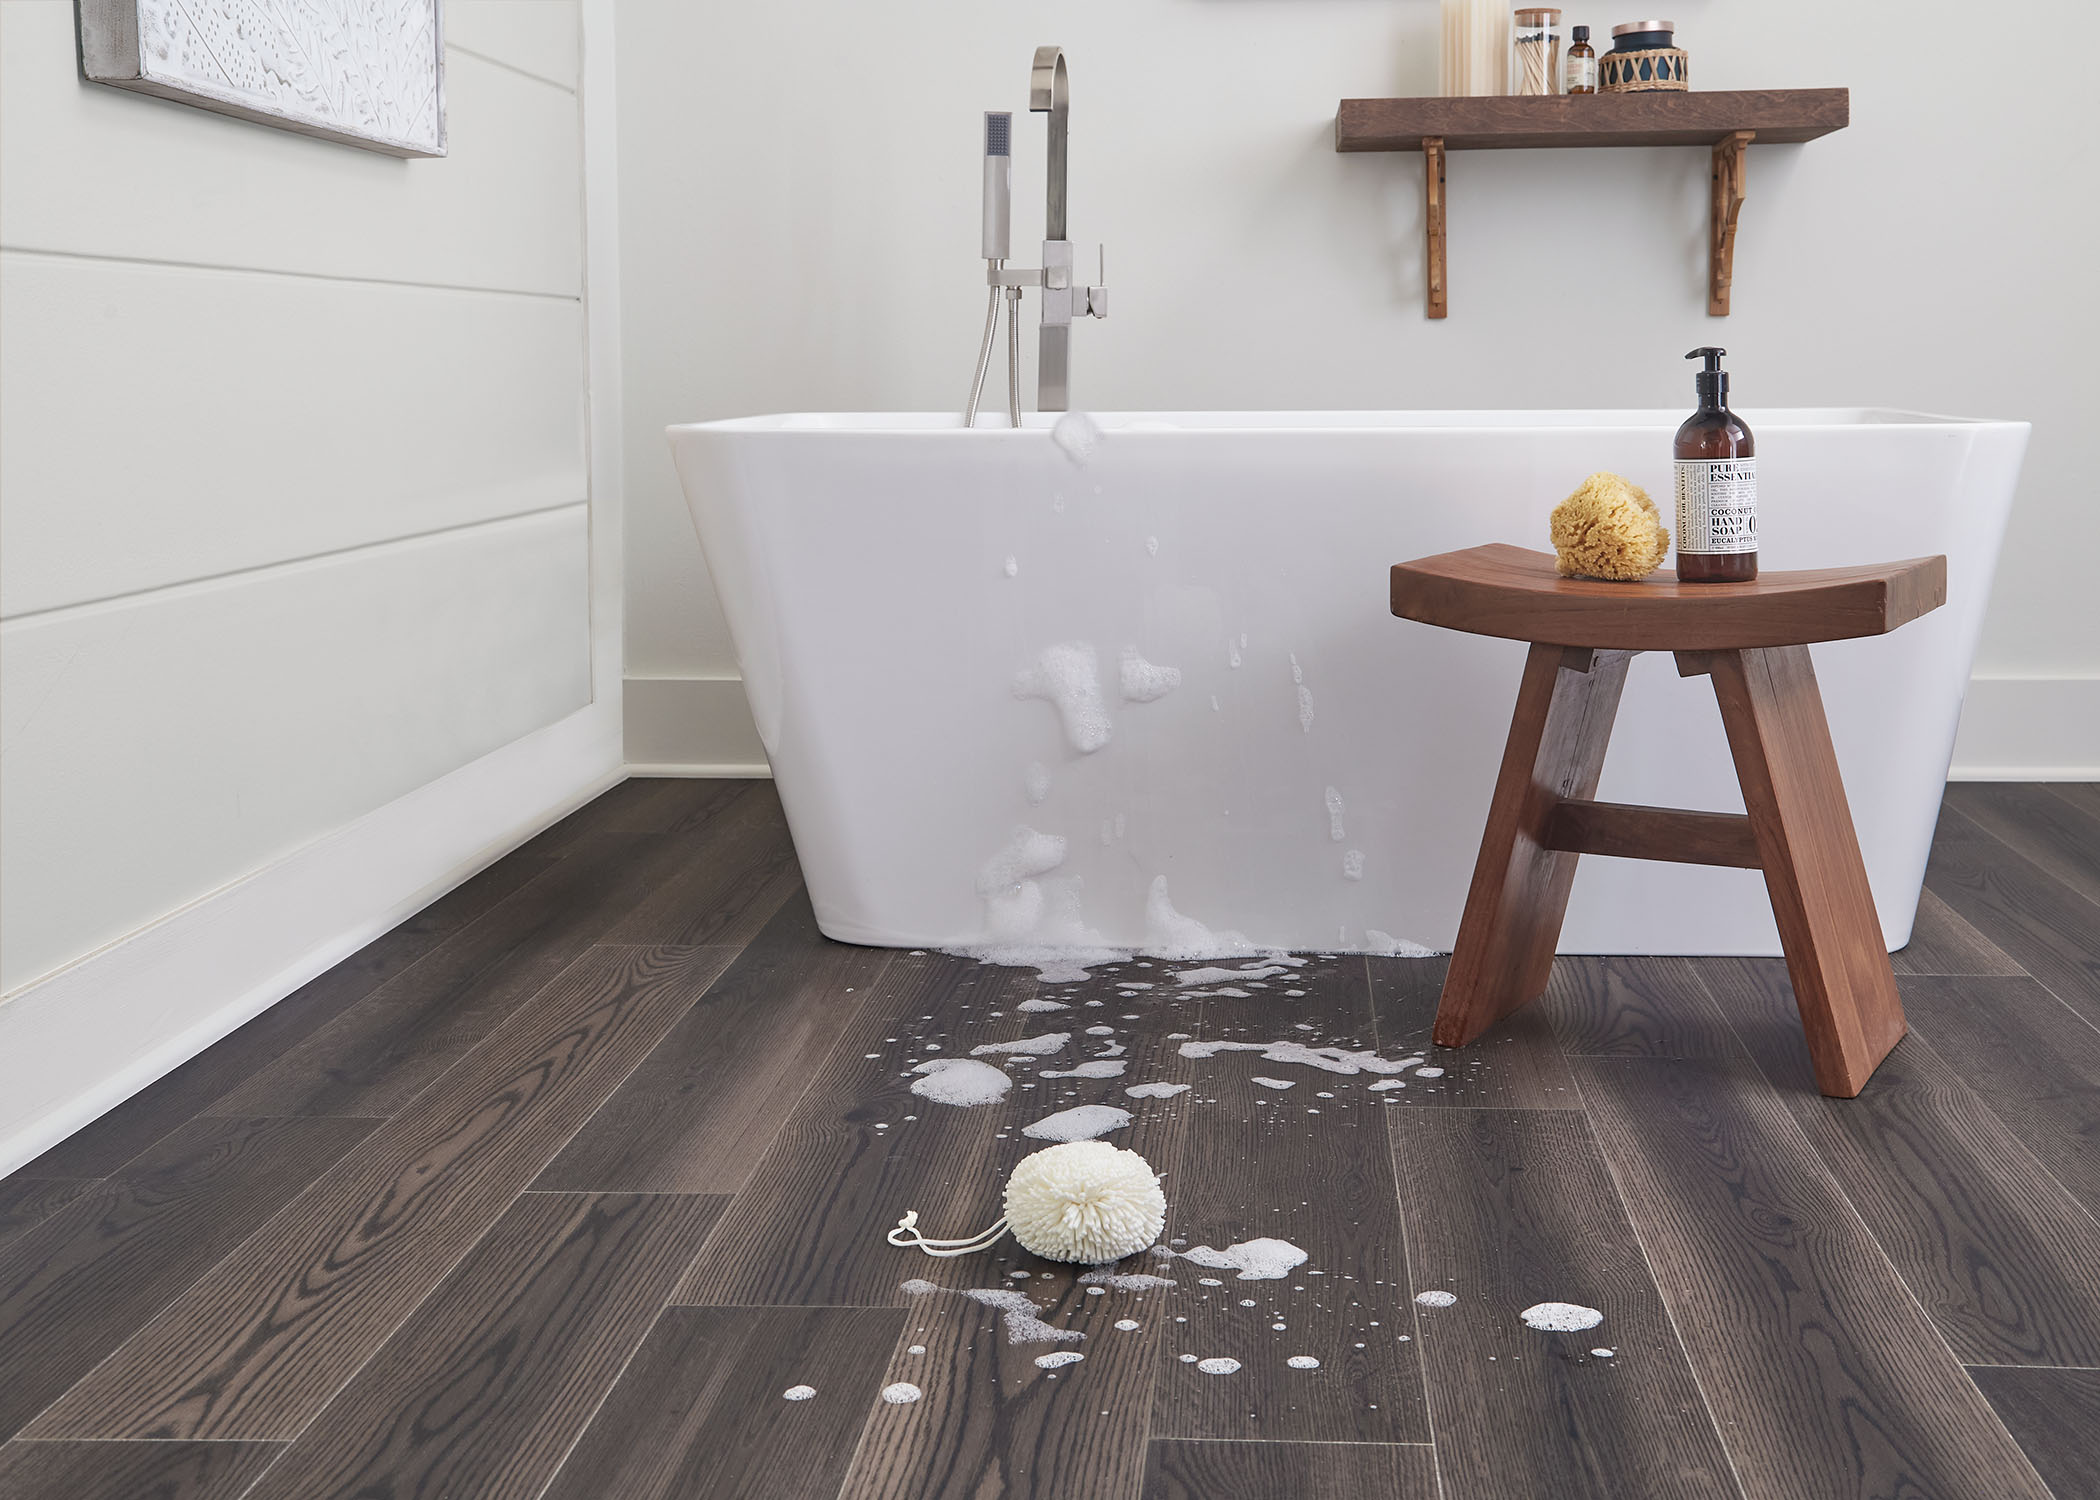
You can get the best of both worlds by installing vinyl plank flooring in your bathroom(s). Vinyl offers a wide variety of authentic colors and textures—inspired by real wood and stone looks—combined with a multi-layered construction that provides resilience and waterproof protection.
But can you really install vinyl floors in bathrooms? Won't vinyl floors warp or buckle when exposed to water? While this may be true of some flooring options, vinyl plank flooring is different.
The Waterproof Protection Your Bathroom Needs
It's a fact—your bathroom floor is going to see water. With sink faucets, toilets, bathtubs, and shower heads all in one place, it's inevitable that your bathroom is going to be a splash zone. That's why the waterproof protection that vinyl planking offers makes them ideal for bathroom floors—or even walls. The waterproof planks won't absorb water, so you don't need to worry about the condensation from steamy showers or bath-time splashes (just make sure you don't let them sit too long).
Besides waterproof protection, vinyl flooring provides a strong composite core for improved strength and stability. Our rigid vinyl plank flooring (RVP) contains a stone-polymer composite (SPC) core that's not only more resistant to dents but that's also more resistant to the changes in humidity and temperature that are more common in bathrooms. Knowing that vinyl's high performance has you covered will really help you relax and unwind in your own personal spa.
The Beauty Your Home Deserves
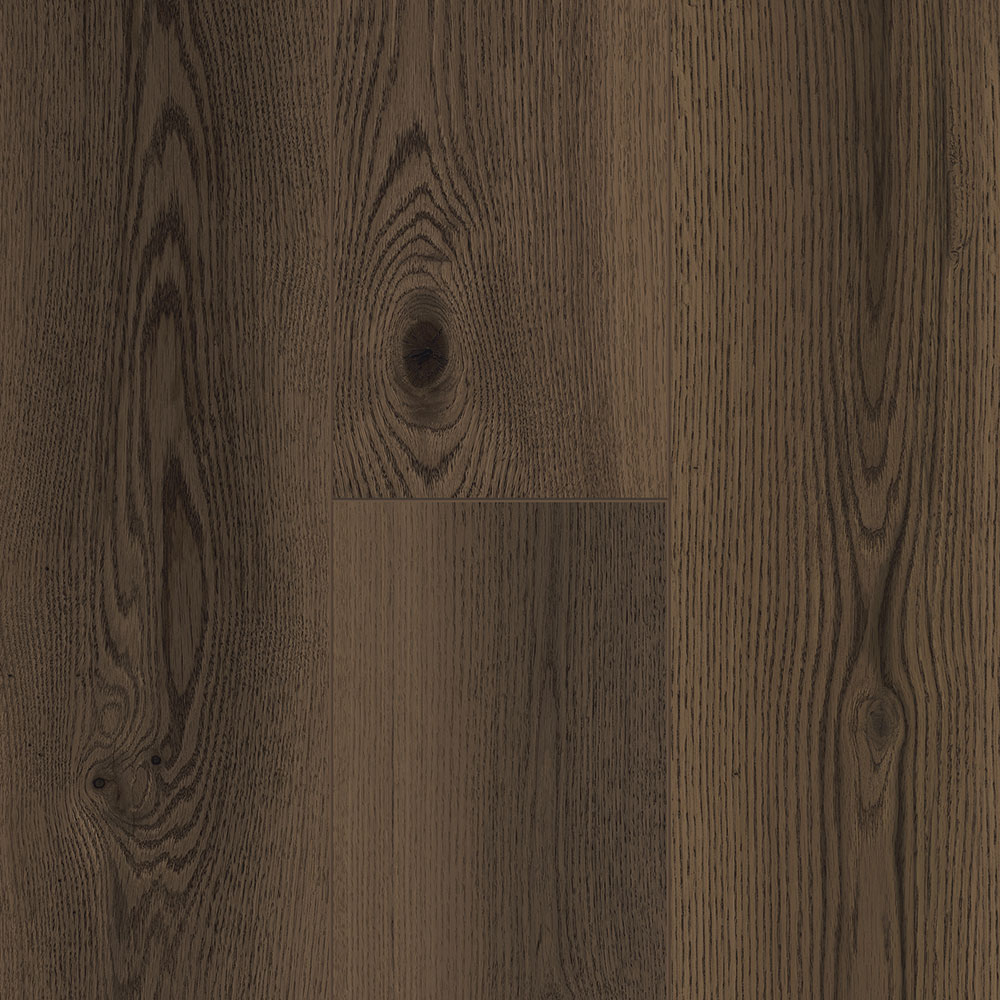
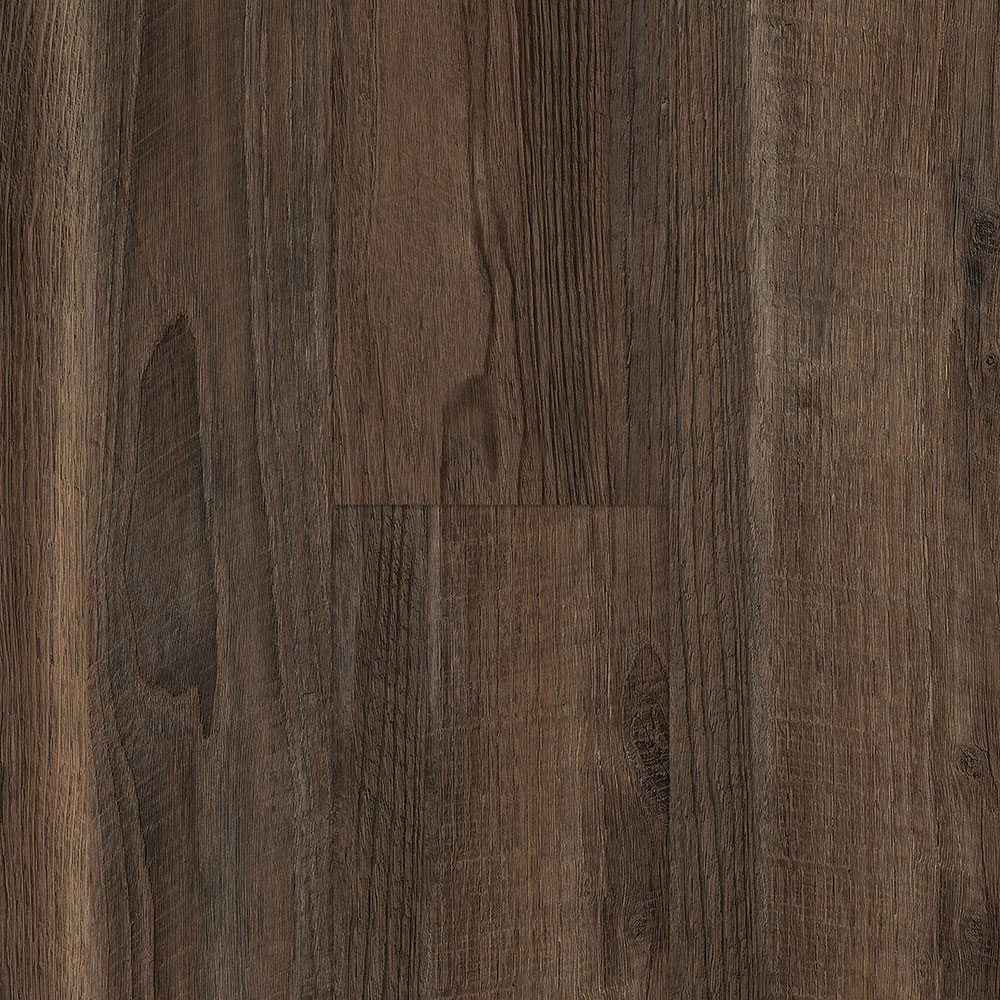
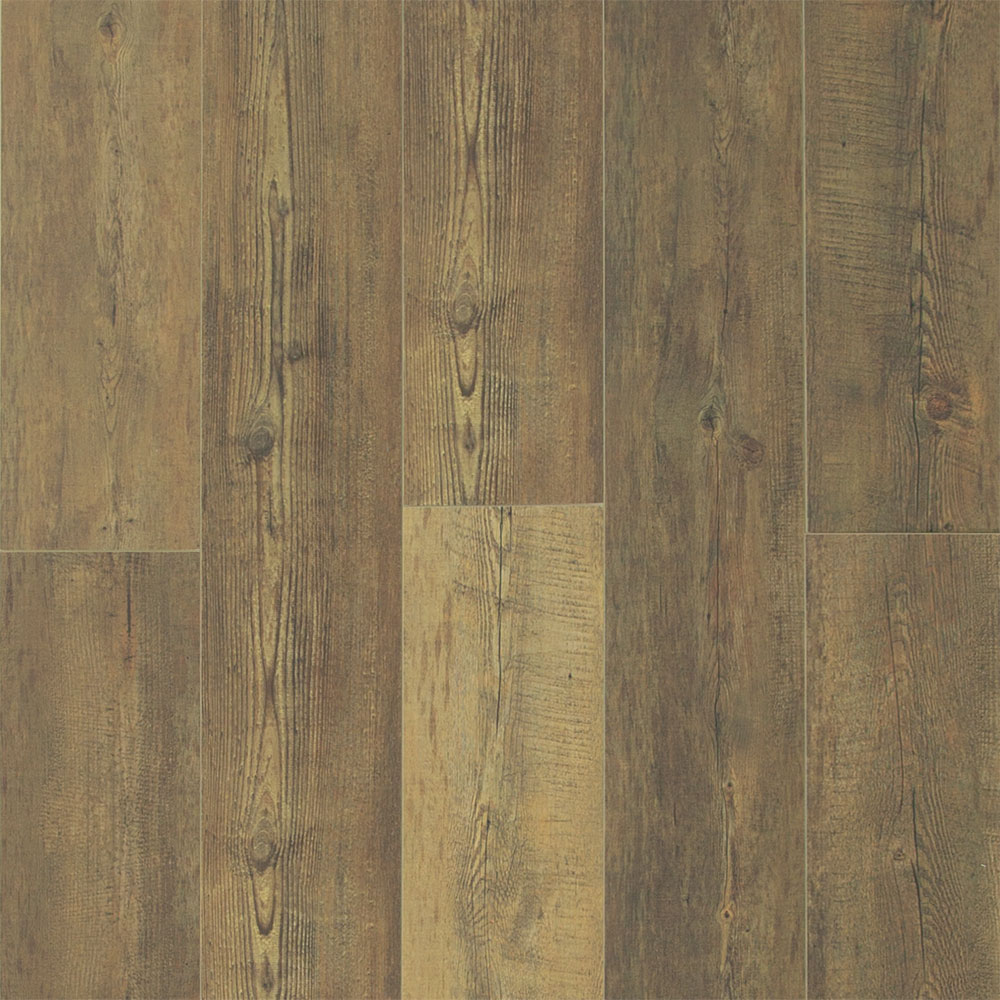
Sure, vinyl's resilient, but it looks great too. Whether you want the warm coloring and grained texture of natural wood or the authentic appeal of cool stone, you're sure to find what you're looking for in our selection. Check out our direct print vinyl collection for our sharpest and most realistic effects. Whatever type of vinyl you choose, its invisible, protective wear layer will help keep your flooring's surface looking its best through years of service.
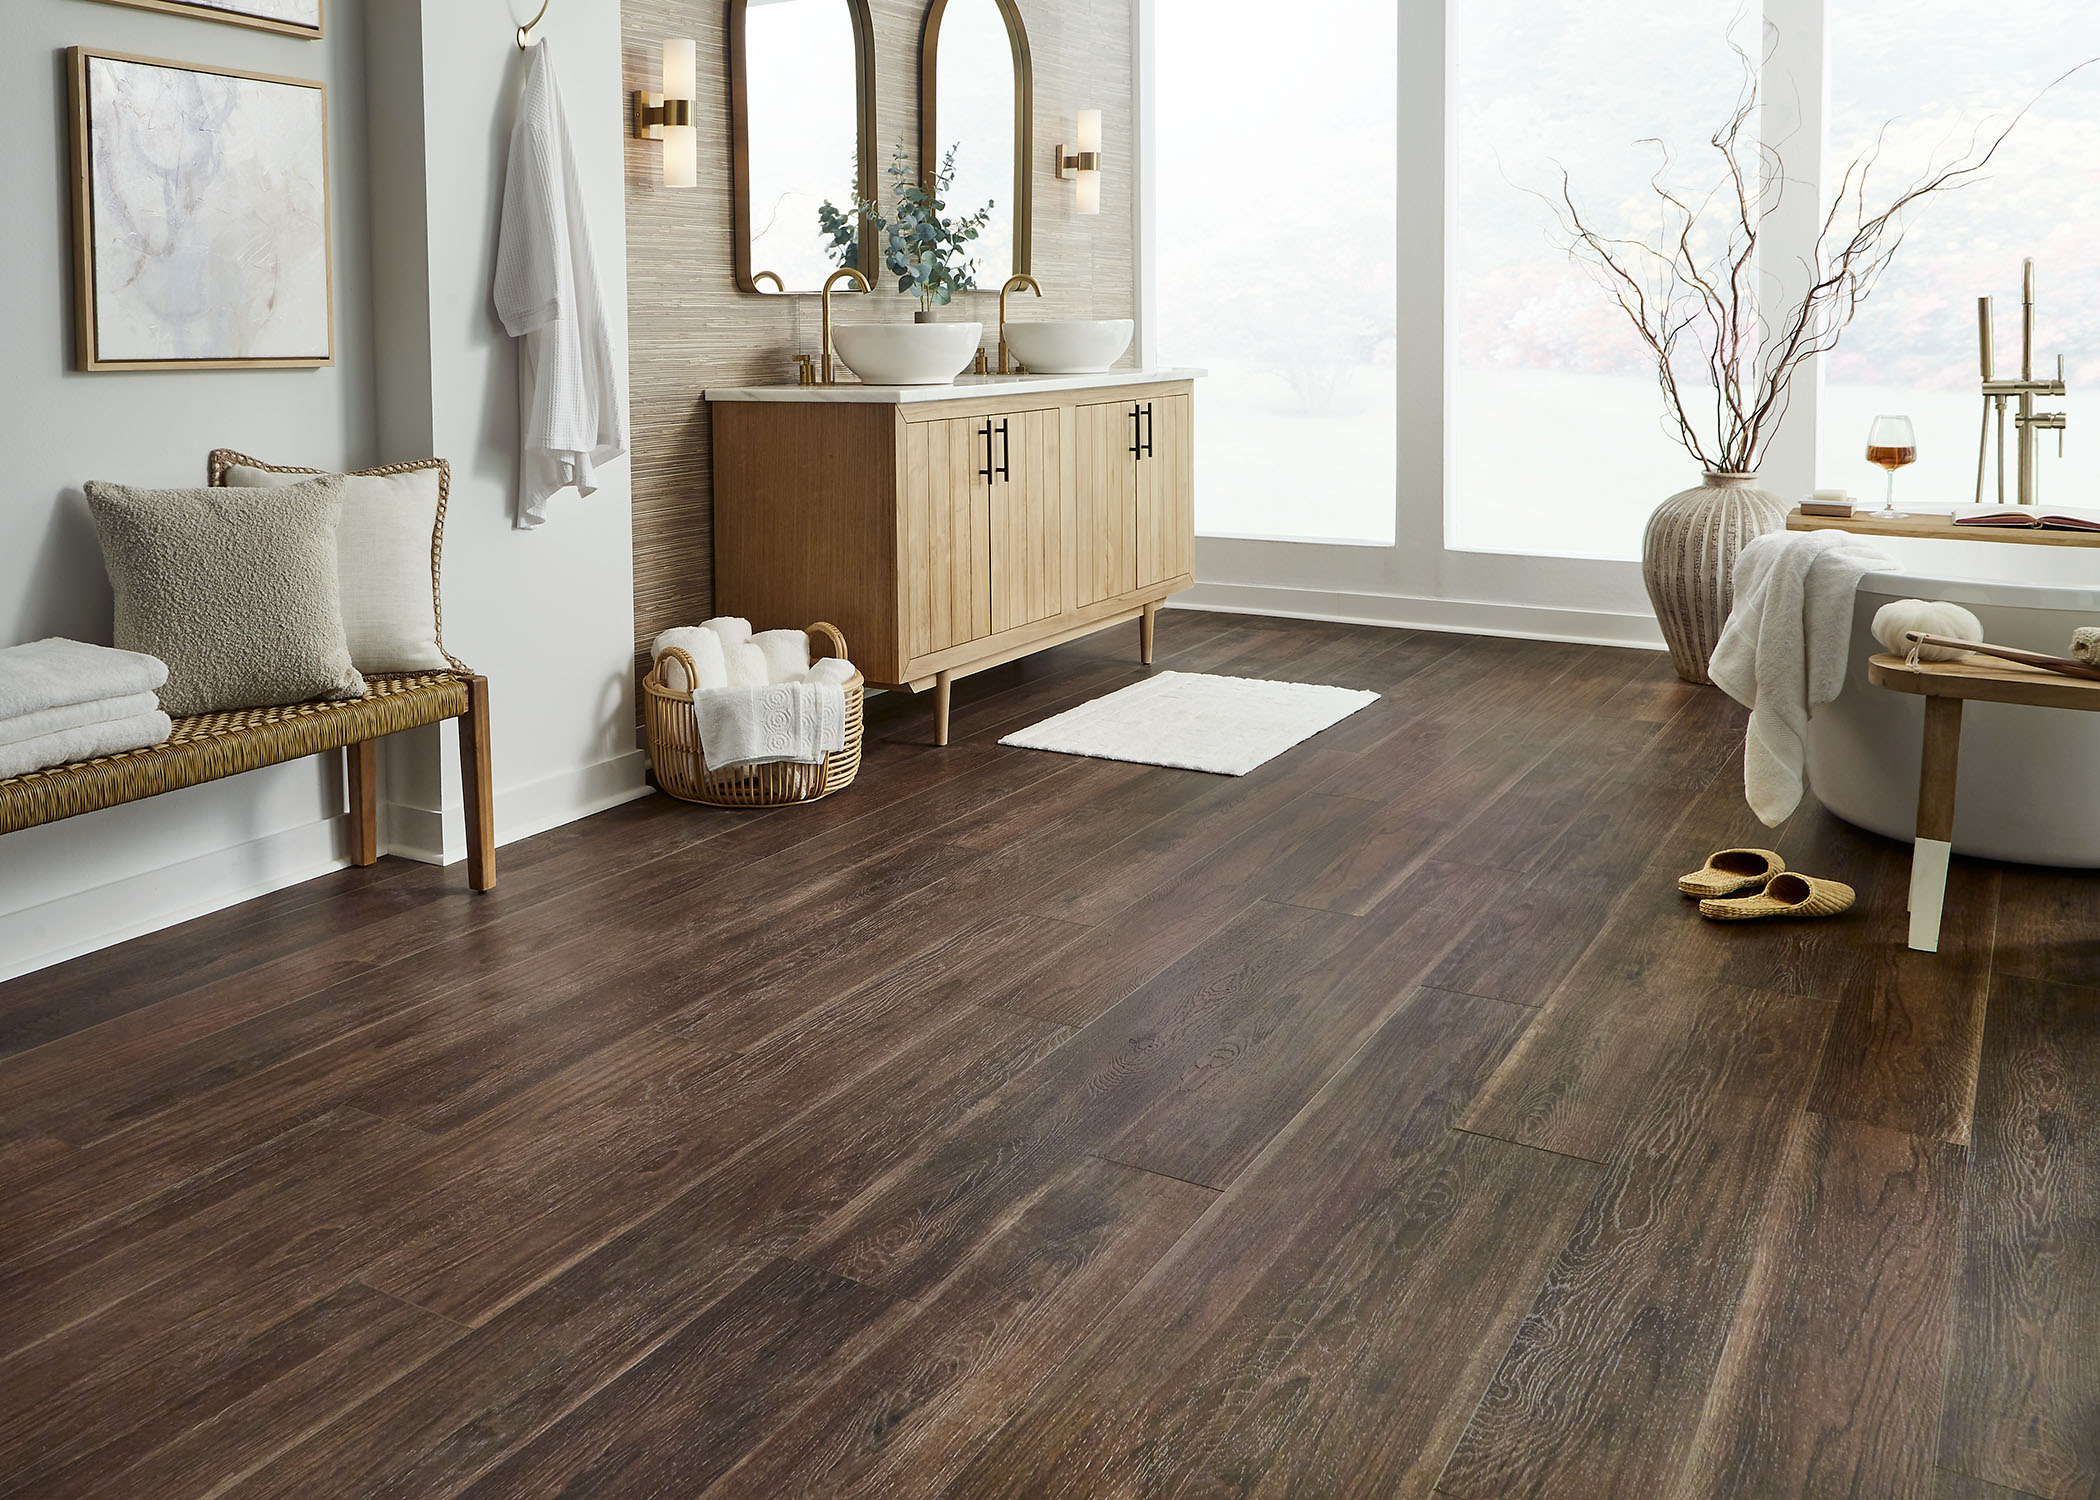
You might find a style you love so much that you want it on your bathroom walls, too. Our unpadded vinyl products give you a trend-forward alternative to tile or paint. Mirrors and vanities will look great contrasted against the textures of a stone or wood design.
Considerations for Installation in Bathrooms
Once you've picked out your bathroom's new vinyl flooring, it's important to set your installation up for success by following these tips:
First, Acclimate Your Planks
Once the planks arrive in their packaging, they should be allowed to acclimate to your home's environment. Acclimating the planks lets them condition to the space before installation; if installed too soon, the planks could expand causing buckling, or shrinking, leaving gaps at the perimeter.
Luxury vinyl plank (LVP) should be allowed to acclimate for at least 48 hours, while RVP and direct print styles need only 24 hours.
Clean Your Subfloor
While the planks acclimate, you can ensure your subfloor is clean, dry, and flat.
Add Underlayment for Premium Performance
Once the subfloor is clean and dry and you've addressed any areas of unevenness, it's a good idea to install a layer of underlayment. This thin layer is typically made of foam, fiber, or other dense material. Over concrete, use 6mil poly or an underlayment with similar moisture barrier properties. Although your vinyl floor is waterproof, it is susceptible to damage from high alkalinity typically associated with concrete and high moisture levels.
Types of Vinyl Flooring Installation for Your Bathroom
Another benefit of vinyl flooring is how easy installation can be, even for novice do-it-yourselfers. There is a range of options regarding the method to be used.
1. Click-float. If your planks are designed for a click-float installation, the ends of the planks will simply connect to the preceding plank with a click. Once each piece is installed, the flooring “floats” atop the subfloor.
2. Glue-down. This method involves applying an approved adhesive to the subfloor and then laying the plank in place. It's more involved than other options and you may wish to engage a professional installer. LL Flooring can connect you to qualified pros if you choose this route.
3. Peel-and-stick. This is another simple, inexpensive option available in a limited number of flooring varieties. If you use this method, applying a primer for an even better bond is essential before you attach the planks using their pre-applied adhesive.
Maintaining Vinyl in Bathrooms
After the vinyl planks are installed in your bathroom, they're ready for immediate use. Feel free to use the room as you normally would.
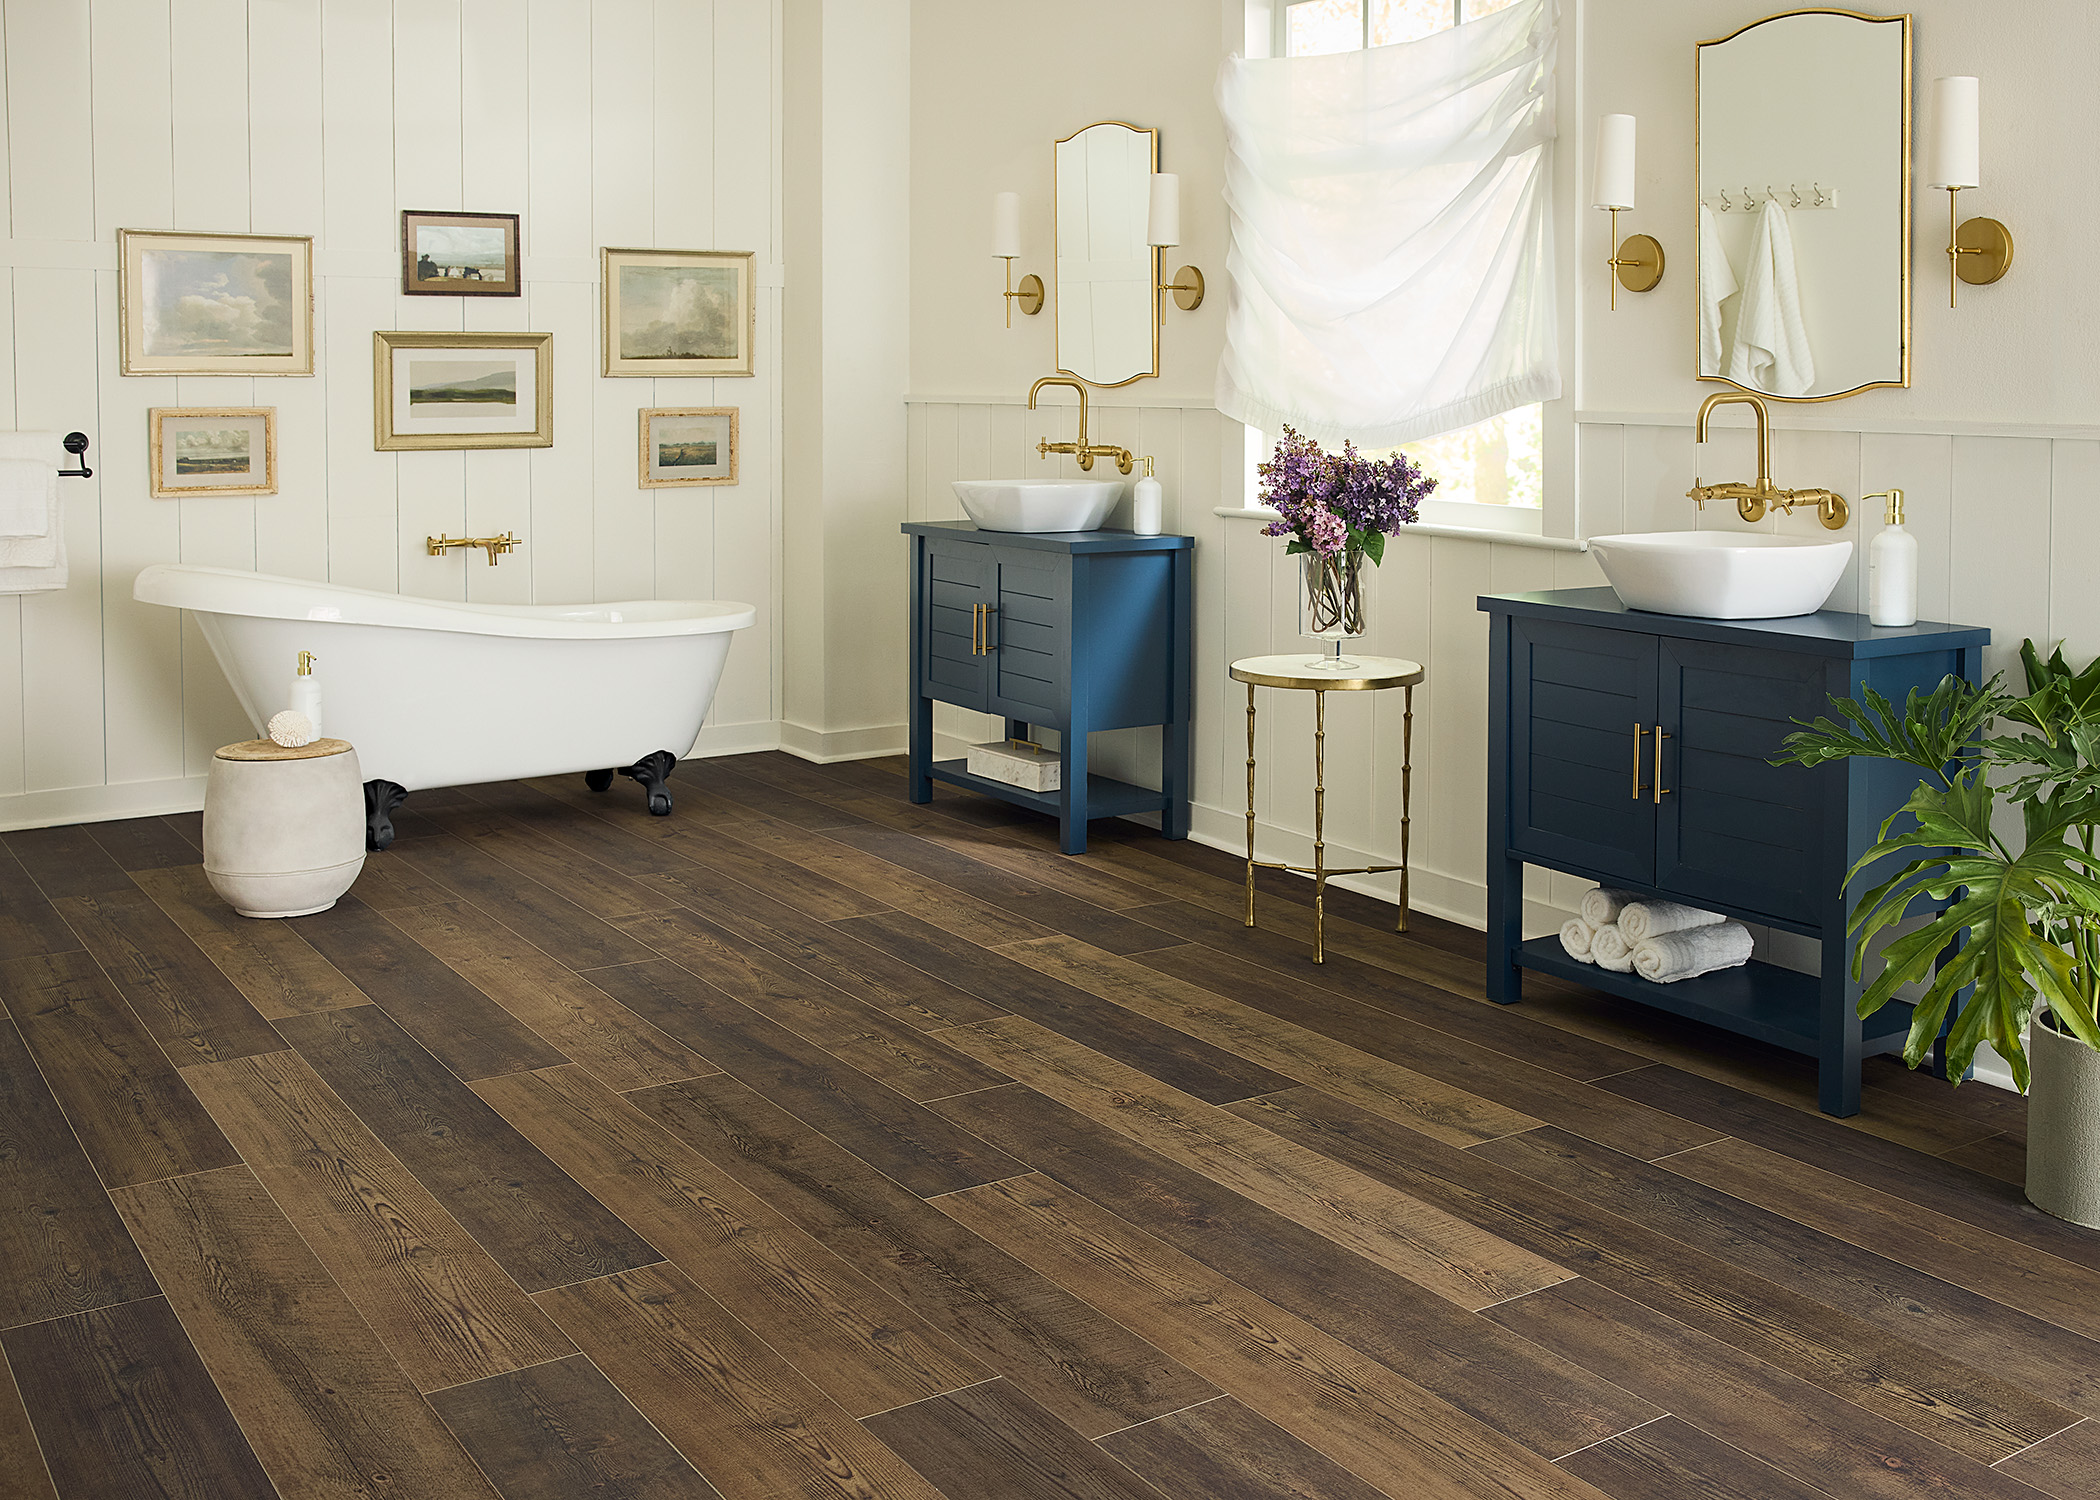
Caring for a new floor is easy, too. Simply sweep it clean once a week or so, and wet mop it to remove stains once a month. And although your vinyl is waterproof, it's a good idea to keep any bathroom floor dry to remove slip hazards and help prevent mold from developing. And, use an approved solution for vinyl—such as Bellawood Floor Cleaner—for a streak-free shine.
